Location: Settings > Integrations > Mailchimp
To set up a mailing list using Mailchimp, then the first thing we need to make sure of is that you have a Mailchimp account.
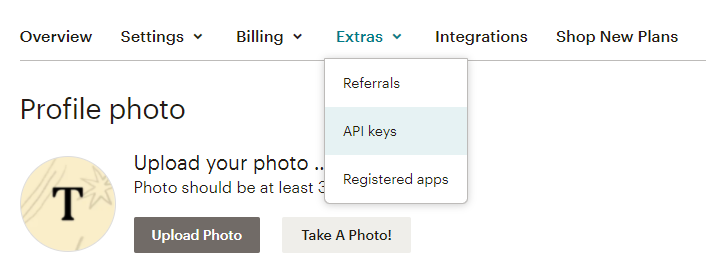
Once that is done and you’re located on your Mailchimp dashboard, then navigate to your profile down in the left corner.

Next up navigate to Extras > API Keys
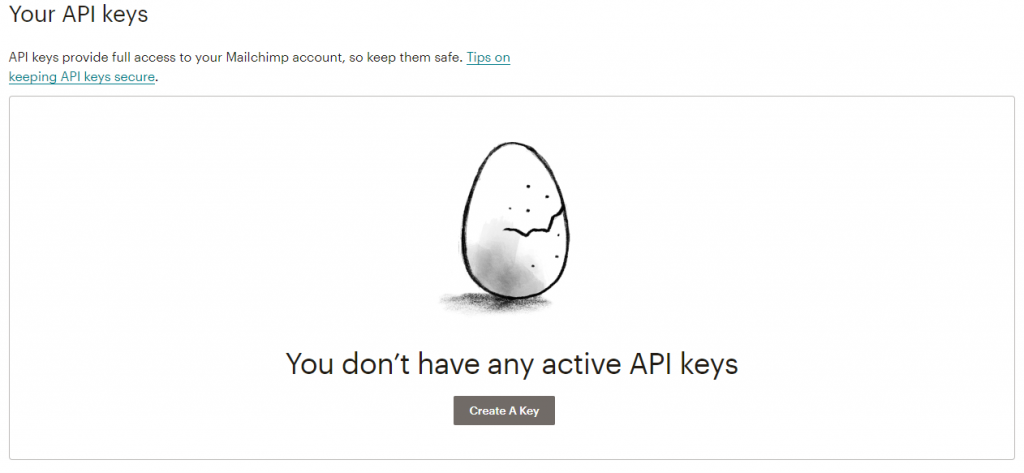
Once you’re in the API Keys section, scroll down until you reach the point it says Your API Keys, and then go ahead and Create A Key
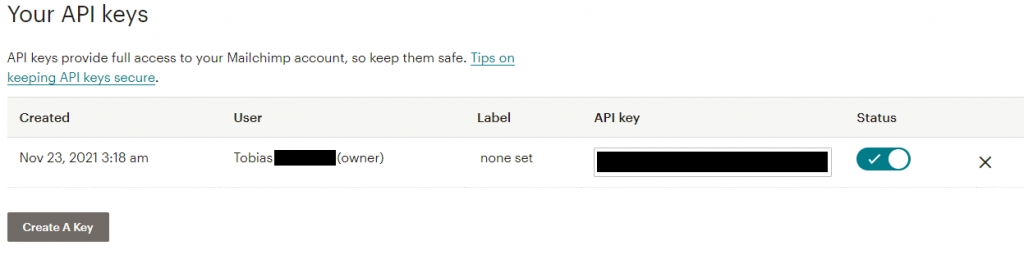
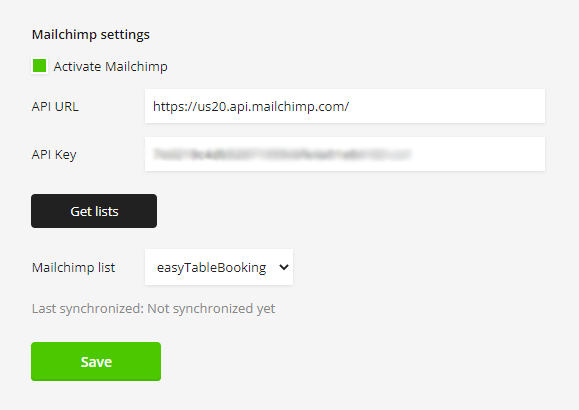
Now that you have your API Key. Insert it into the easyTableBooking Mailchimp integration page.
Next up you need to copy your Mailchimp URL which is located up in your browser search bar, as the URL is unique to which Mailchimp server you’ve been allocated makes it so we need this as well.
N.B. – Don’t copy anything from the URL after .com
N.B. – In my example I’ve been allocated “us20” server, make sure to post your own unique URL
N.B. – Replace “Admin” with “API” in the URL.

Now that we have all the information we need from Mailchimp it should look like the image below, just with your own unique information.